
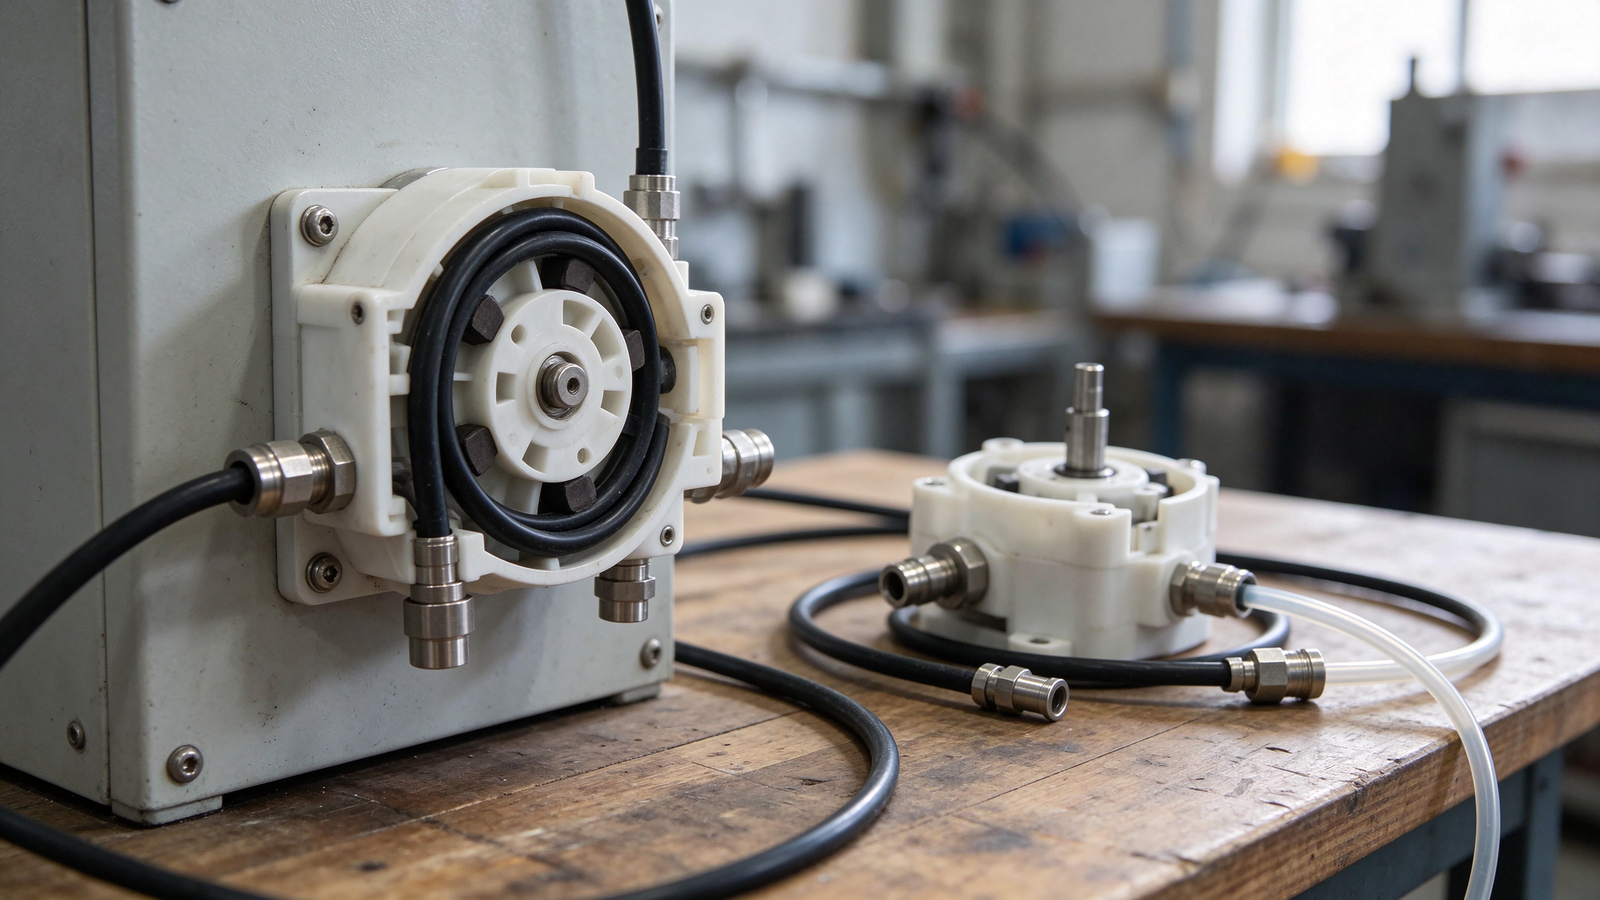
When an installed peristaltic pump wears out, fails, or needs to be upgraded, the easiest path looks like ordering the same model again. But the old unit may have been replaced piecemeal over time, the tag may be missing, or the duty may have changed since it was first fitted. A replacement that matches the flow on paper but not the head size, tube bore, mounting, voltage, control signal, or fittings can leave the new pump unable to install or unable to deliver the dose. This buyer guide covers what to record before removing the old pump, how to match the head, tube, drive, mounting, and connections, and when a like-for-like replacement should instead become a small upgrade.
Why a Like-for-Like Match Matters
A peristaltic pump’s delivered flow comes from the combination of head size, tube bore, rotor speed, and drive reduction. Two units that look similar can cover different flow bands, and a replacement with the wrong bore or head will either run outside its useful range or fail to reach the target dose. The mounting holes, shaft or coupling arrangement, port orientation, and fitting type also decide whether the new unit bolts straight onto the existing panel and lines. Recording these facts before the old pump comes off prevents a second trip to site and a pump that has to be returned or adapted.
What to Record Before Removing the Old Pump
| Record item | What to note | Why it matters |
|---|---|---|
| Head model and size | Markings on the housing, head type, and tube bore currently fitted | Matches flow band and consumable compatibility |
| Tube material and bore | Material, inside/outside bore, fitting style on the installed tube | Keeps chemistry compatibility and dose unchanged |
| Drive and motor details | Voltage, motor type, speed adjustment, and any signal or wiring scheme | Matches the existing power and control on the machine |
| Mounting arrangement | Bolt pattern, bracket, orientation, and clearance around the head | Confirms the replacement fits the panel or skid |
| Port and fitting details | Inlet/outlet orientation, fitting type, line bore, any adapters in use | Allows existing lines to reconnect without new plumbing |
| Duty facts | Fluid and concentration, temperature, target flow, duty cycle, back-pressure | Checks whether the original still suits the current duty |
Photograph the installed unit, the wiring, and the line connections before disconnection, and keep the old pump and tube long enough to compare against the replacement. If the original tag is gone, the head size, tube bore, and drive markings on the unit itself are the most reliable reference; the fluid record and measured dose fill in what the tag cannot.
Matching the Head and Tube Bore
The head and tube bore set the displacement per roller pass, and they should be matched to the duty rather than to the old pump’s appearance. Compare the installed bore and material against the fluid and target flow: a replacement tube that narrows the bore reduces delivered volume, while a wider bore changes the dose at the same speed. The peristaltic pump tube should carry the same material that was verified against the chemistry, unless the compatibility review has been redone. Small head ranges such as the micro peristaltic pump and the small peristaltic pump cover low and moderate reagent or additive feeds, and compact mini heads suit instrument installations. Match the replacement to the flow band the duty actually needs, and confirm the consumable for that head can be sourced locally or kept in stock.
Matching the Drive, Voltage, and Control
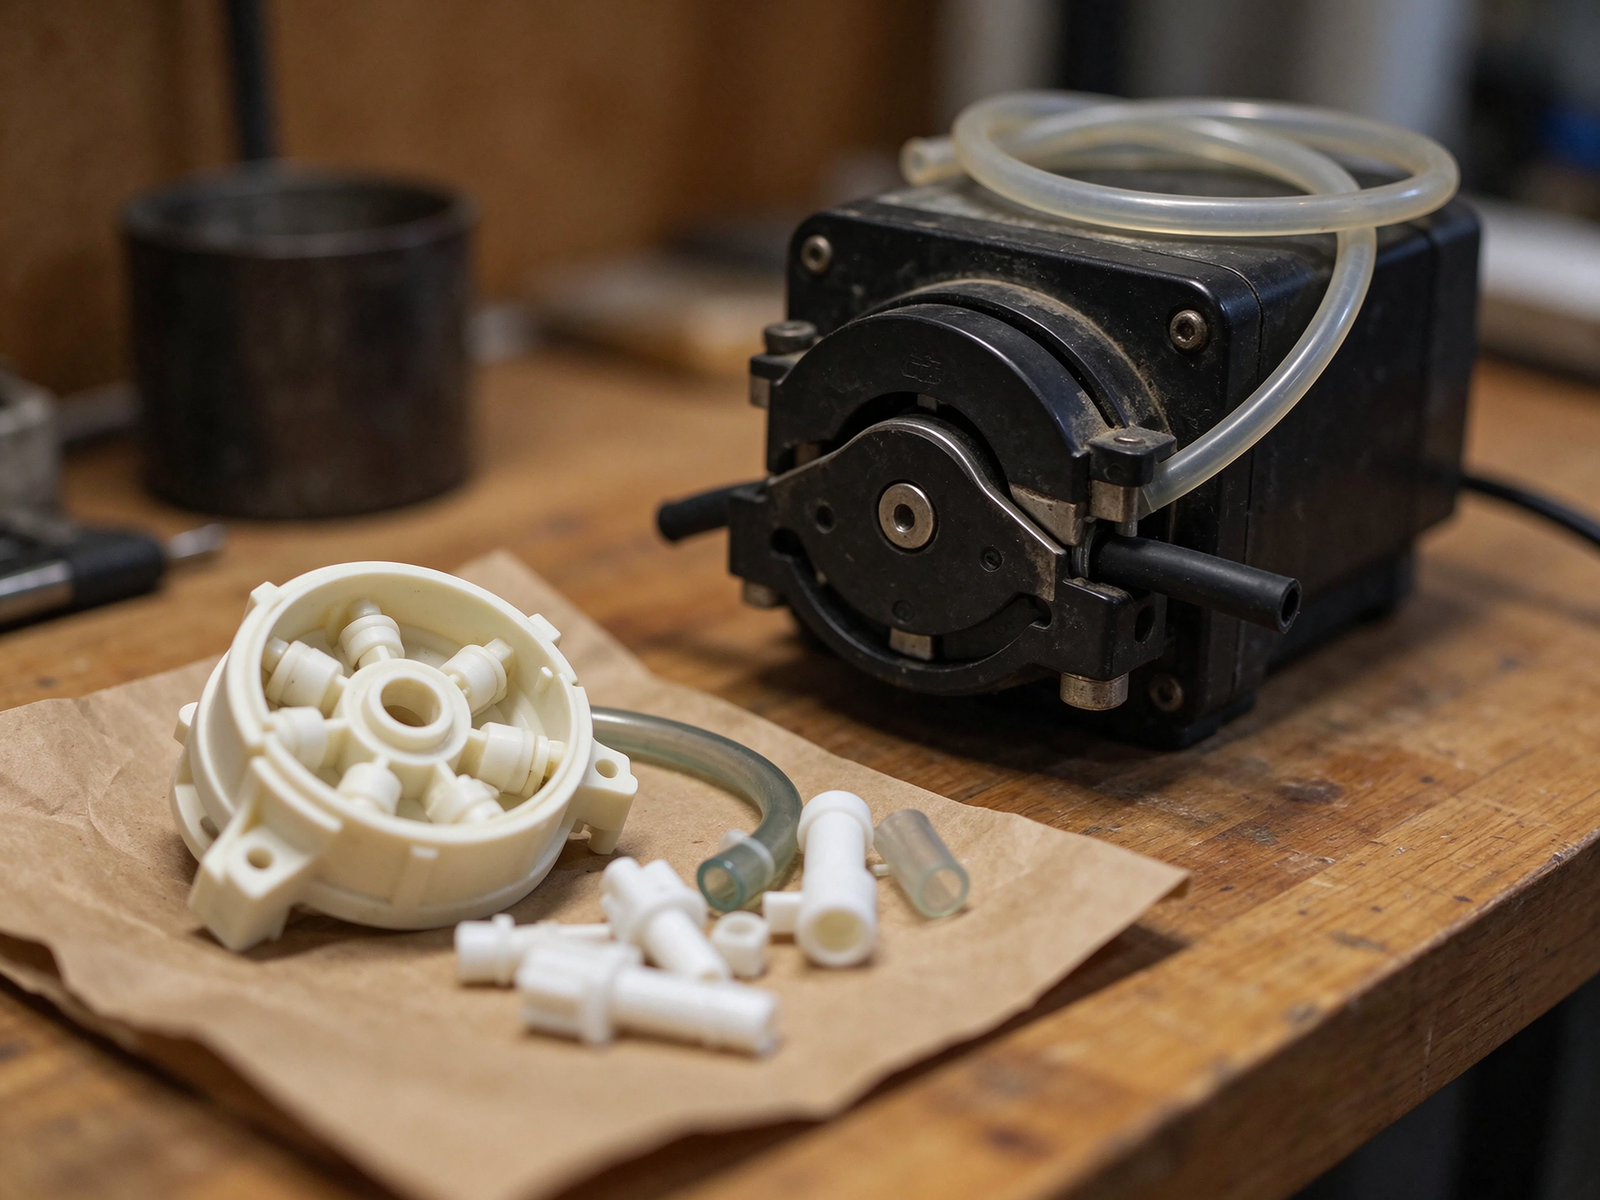
The drive side is where retrofits most often mismatch. Note the supply voltage, whether the motor is brushed or brushless, the speed range and reduction, and how the original was controlled: fixed speed, manual adjustment, or a signal from a controller. A replacement with the right head but the wrong voltage or control scheme will not integrate with the existing machine wiring. Review the supply and signal arrangement against the site’s installation; a 12V DC unit such as the 12V DC peristaltic pump arrangement matches a portable or DC-powered install, while a 24V dosing driver lines up with controlled chemical feeds. The peristaltic pump driver selection should follow the same control scheme as the original unless the retrofit also upgrades the control loop. Drive-side wiring and setup references are described in the motor-driver operating manual and the peristaltic pump driver reference.
Mounting and Fitting Compatibility
Check whether the replacement can use the existing bracket and holes, or whether an adapter plate is needed. Note the port orientation: some heads route inlet and outlet in a fixed arrangement, and a mirrored or rotated mounting position can leave the existing lines twisted or pulling against the fitting. Reuse the existing flexible section and supports where they are in good condition, and replace any aged inlet hose that leaks air or has hardened at the connection. If the old unit used adapters to join to the plant lines, record what those adapters were so the replacement connects to the same line bore. After installation, re-run the delivered-volume check against the target dose rather than assuming the replacement matches by appearance.
When to Upgrade Instead of Replacing Like-for-Like
A straight repeat is the right choice when the fluid, flow, and duty have not changed. It is worth reviewing an upgrade when the duty has moved on: the target flow is higher or lower than the original was sized for, the chemistry changed and the current material no longer holds up, the original drive cannot follow the control signal now used on the line, or the old consumables are hard to source. In those cases the replacement can carry a different head size, bore, material, or drive, provided the mounting and fittings are checked. An upgrade should still be validated on the actual fluid before it takes over continuous production, especially where the new bore or material changes the delivered dose.
Replacement Checklist and Common Mistakes
| Checklist step | Done when |
|---|---|
| Recorded head, bore, tube material, drive, voltage, control, mounting and fittings | Before the old pump is removed |
| Replacement head and bore match the target flow band | Compared against duty facts, not appearance |
| Tube material confirmed compatible with the fluid and temperature | Compatibility reviewed for the current chemistry |
| Voltage, motor and control signal match the existing wiring | Drive side checked before installation |
| Mounting holes, orientation and ports match the panel and lines | Fittings and adapters identified for reconnection |
| Delivered dose verified by timed catch after install | Commissioning completed before handover |
| Common mistake | Result | Better approach |
|---|---|---|
| Ordering by model memory without the tag or measurements | Wrong head bore or drive on arrival | Record head, bore, drive and fittings before removal |
| Matching flow rating only | Mismatched mounting, voltage or control | Check mechanical, electrical and fluid details together |
| Reusing an incompatible tube material | Repeat chemical attack and early failure | Re-review compatibility for the current chemistry |
| Ignoring changed duty conditions | Replacement undersized or over-range | Compare current flow, fluid and back-pressure to the original |
| Skipping post-install dose check | Drift goes unnoticed until the process suffers | Verify delivered volume by timed catch after fitting |
Measurement practice for the post-install dose check follows the weighing and timing methods described by the NIST measurement practice, with fluid-handling background available from NSF engineering research. Keeping the original unit and its tube for comparison, along with the recorded duty facts, makes the next replacement faster and reduces the chance of ordering a mismatched spare.
Frequently Asked Questions
What if the old pump has no identification tag? Record the head size, tube bore and material, drive voltage and markings, mounting pattern, and fitting style from the unit itself, together with the fluid and measured dose. Those details are enough to match a replacement without the original tag.
Can a replacement use a different tube bore? It can if the flow band and duty are reviewed, but the dose at a given speed changes with bore size. Confirm the target flow and verify delivery after installation rather than keeping the original speed setting.
Does the replacement have to be the same brand? No, but the head interface, bore, mounting, drive voltage, and control scheme have to match or be adapted. Confirm mechanical and electrical compatibility before ordering, and source a head whose consumables are available.
When should the retrofit include a new driver? When the original drive cannot match the current control signal, the supply voltage differs, or the motor type needs to be changed for the machine. Match the driver to the existing control arrangement unless the control loop is being upgraded at the same time.
How do I confirm the replacement delivers the right dose? Catch the output over a timed interval and measure volume or weight against the target, the same check used at commissioning. Re-run it after any tube change or chemistry change.
If you are replacing or retrofitting an installed peristaltic pump, send YOORAIN the old head markings, tube bore and material, drive voltage and control signal, mounting and fitting details, fluid and concentration, target flow, and duty cycle. We can help identify a matching head, tube material, and driver for the replacement, or advise where an upgrade would fit the current duty better than a like-for-like repeat.