
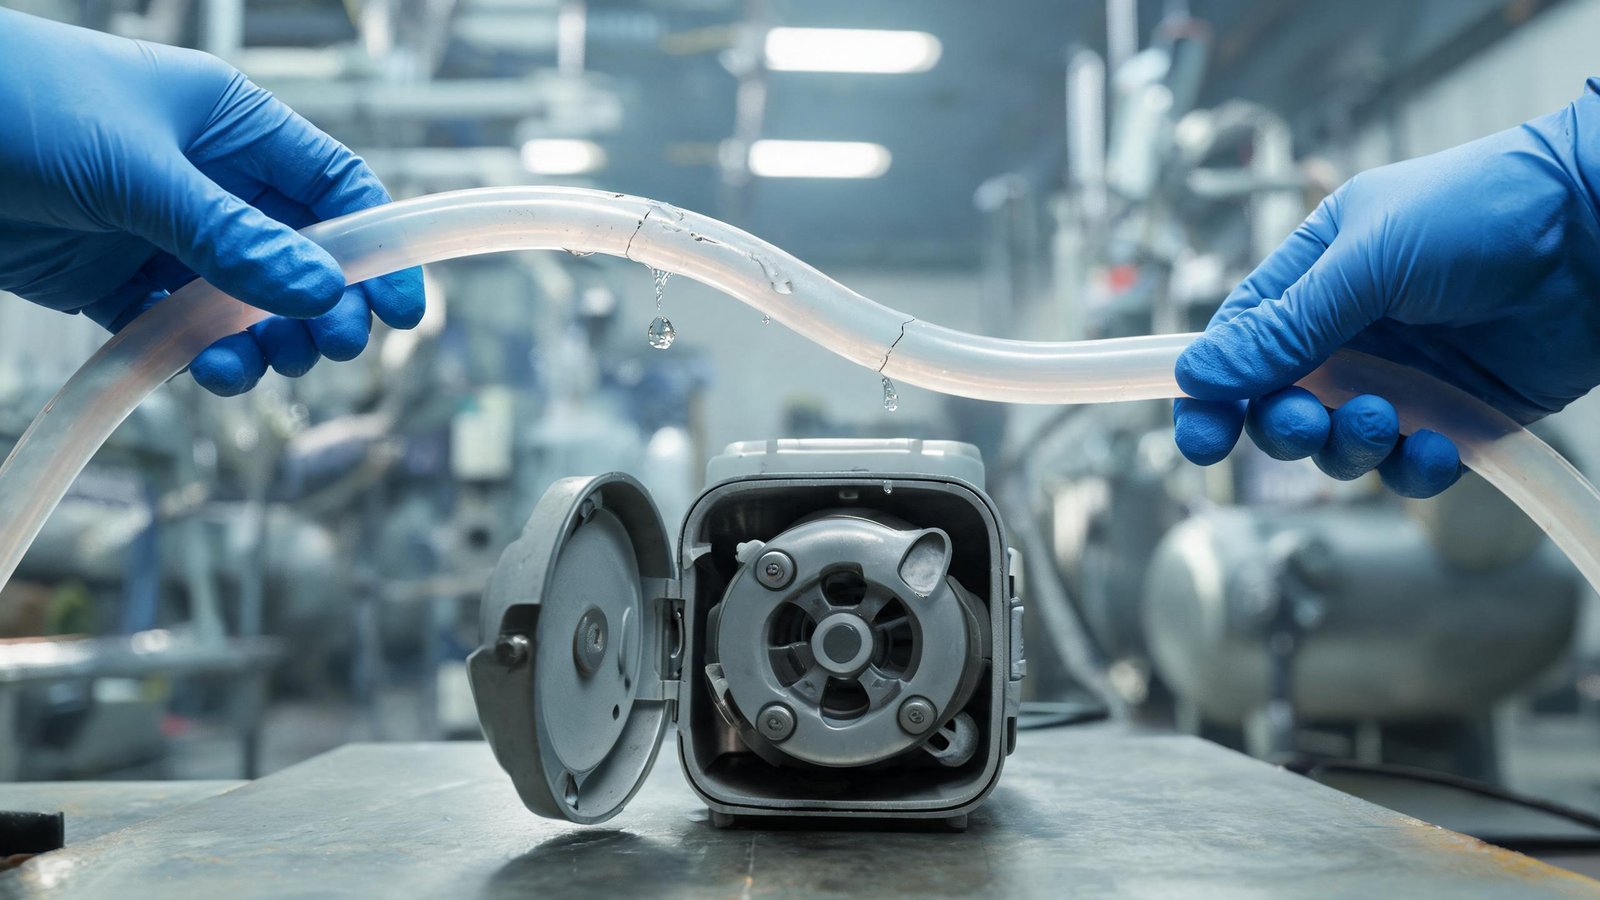
A maintenance call comes in: there is fluid on the floor under a dosing pump that ran fine for six months. On a peristaltic pump, a leak is never a mystery that needs guessing — the fluid path is one continuous tube, so the leak can only come from a short list of causes. The faster the cause is isolated, the smaller the cleanup, the chemical exposure and the downtime. This guide walks through where peristaltic pump leaks actually originate, how to diagnose each one, and the fixes that hold.
The Common Problem
Peristaltic pumps have a reputation for being leak-free because the fluid never touches a seal, gland or valve — it stays inside the tube from inlet to outlet. That reputation is earned, but it creates a blind spot: when a leak does appear, operators sometimes look everywhere except the tube. In practice, nearly every peristaltic leak traces back to one of five locations, and each leaves distinct evidence.
Where the Leak Actually Comes From
1. Tube wall fatigue or rupture inside the pump head. The most common source. The tube is compressed thousands of times per hour; eventually micro-cracks propagate through the wall and fluid escapes into the pump housing. Industry analyses of hose failure, such as Kelair Pumps’ breakdown of peristaltic hose failure causes, identify fatigue, chemical attack, overpressure and installation damage as the four recurring mechanisms — and fatigue is the normal end-of-life mode, not a defect.
2. Mechanical cutting from incorrect tube installation. A tube section that is too long vibrates inside the head and rubs against the rotor flange edge, which can cut through the wall in minutes. JIH Pump’s troubleshooting notes on tubing failure describe this failure mode as fast and total — the tube is destroyed rather than worn. If a new tube leaks within its first hours of operation, installation geometry is the first suspect.
3. Chemical incompatibility. A tube material outside its compatibility range swells, softens or cracks. The leak often appears along the compressed zone first, because that is where the wall is stressed hardest. If the fluid was recently changed — a new detergent concentration, a solvent-based cleaner, a different reagent supplier — treat the tube material as the prime suspect.
4. Overpressure from a downstream blockage. A kinked discharge line, a closed valve or a clogged injection point forces pressure up until the weakest point gives way. Peristaltic pumps will keep driving against a blockage, so the tube or a fitting absorbs the full pressure rise.
5. Fittings and connectors, not the tube. Barbed connectors that were reused past their grip life, tubing pushed onto a barb without a clamp, or a cracked compression fitting all produce drips that run down the line and pool under the pump — imitating a head leak while the tube itself is intact.
| Leak evidence | Most likely cause | First check |
|---|---|---|
| Fluid inside the pump housing, tube wet along compressed zone | Tube fatigue or chemical attack | Remove tube, inspect wall at roller contact points |
| New tube destroyed within hours | Tube too long, rubbing rotor flange | Measure installed length against specification |
| Leak appeared after fluid change | Chemical incompatibility | Cross-check fluid vs tube material chart |
| Sudden rupture with discharge line silent | Downstream blockage / overpressure | Open the line, check valves and injection point |
| Drips at inlet/outlet, housing dry | Fitting or connector failure | Inspect barbs, clamps and compression fittings |
How to Diagnose It
Work through the sequence below before replacing anything. Each step is a two-minute check, and the order is deliberate — it moves from the most common cause to the least. Record what you find at each step, even when the finding is “nothing wrong”: that negative result is what allows the next technician to skip straight to the real cause if the leak returns.
| Step | Action | What it tells you |
|---|---|---|
| 1 | Depressurise, lock out the drive, wipe the pump dry | Safe inspection baseline; fresh leaks become visible |
| 2 | Open the head and remove the tube | Wall cracks, swelling, soft spots or cut marks are directly visible |
| 3 | Check tube length against the installation drawing | Confirms or clears installation cutting |
| 4 | Verify the fluid against the tube material | Confirms or clears chemical attack |
| 5 | Blow through the discharge line to the injection point | Finds blockages that caused overpressure |
| 6 | Inspect both fittings and clamps | Finds the leaks that never involved the tube |
| 7 | Refit, run at low speed, watch for ten minutes | Confirms the fix before returning to production |
A structured first-response checklist like the one in The Pump Expert’s guide to leaking or failing peristaltic pumps covers the same ground from a field-service perspective and is worth printing for the maintenance station.
Engineering Fixes That Hold
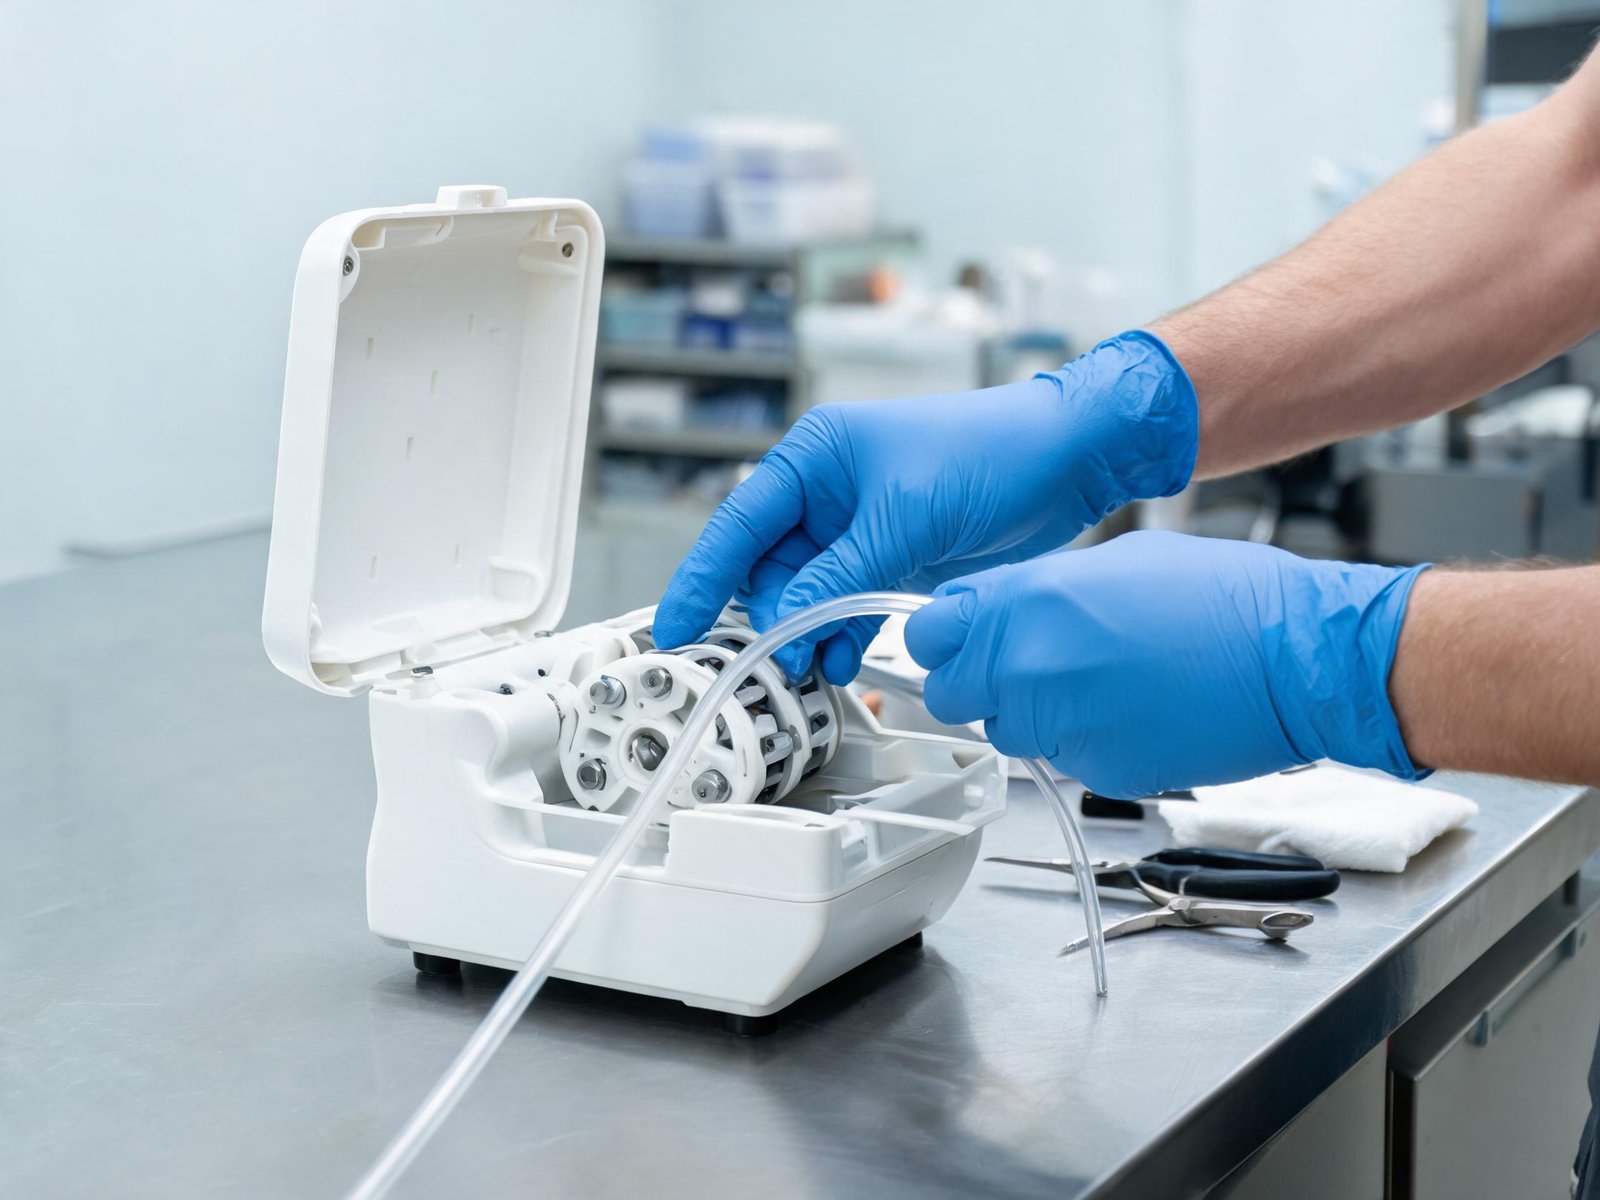
Fatigue failures are managed, not eliminated. Track running hours or cycles on each tube and replace on schedule before the crack, not after it. For heavier duty, step up to a hose pump with a reinforced hose: YOORAIN’s YD25 peristaltic hose pump is rated for 400–1000 L/h against an outlet pressure of 1 MPa, with a steel casting cover and IP61 protection — built for continuous transfer duties where a bare pump head tube would be running near its limit.
Containment design limits the damage when a tube does let go. This is a detail worth checking at purchase time. The TH15 spring-type peristaltic pump incorporates a drainage tank design that keeps escaped fluid out of the pump mechanism, plus a clamshell cover for fast tube changes — so the consequence of a tube failure is a scheduled cleanup, not a damaged drive. Its automatic cover protection also prevents the head running open during a change.
Chemical failures are fixed by material selection, not by more frequent replacement. Once the fluid is known, match the tube using a compatibility chart and an immersion test if the chart is silent. Our article on peristaltic pump tubing failure causes and prevention details the diagnosis-side workflow, and the replacement peristaltic pump tube range covers the standard compliant materials for food, laboratory and light chemical duty.
Overpressure failures get a pressure review: confirm the discharge route, add a relief path where blockages are plausible, and never dead-head a peristaltic pump against a closed valve for more than a few seconds.
Fitting leaks are the cheapest fix on the list: replace worn barbs, use clamps sized to the tube OD, and renew any connector that has been removed more than a handful of times.
When to Change the Pump Instead of the Tube
If tubes are failing far inside their expected life and the diagnosis above clears chemistry, installation and pressure, the pump itself may be the problem: worn rollers or bearings that over-compress the tube, a rotor running out of true, or a drive delivering more torque than the head was designed for. Repeated identical failures at the same tube position are the signature. At that point a pump-head or drive replacement costs less than the weekly tube changes — and a different model class, such as moving from a light-duty head to a spring-loaded or hose design, often removes the failure mode entirely.
Root Cause Summary
Nearly every peristaltic pump leak resolves into one line of this summary: fluid in the housing means the tube wall — from fatigue, chemistry, cutting or pressure; drips at the connections mean fittings; a new tube destroyed quickly means installation length; a leak after a fluid change means material compatibility; and repeated failures in one spot mean the pump, not the tube. Work the seven-step diagnosis in order, fix the mechanism rather than the symptom, and log the failure so the next one is prevented rather than repaired.
Dealing with a leak that does not match these patterns? Send YOORAIN a photo of the leak location, the tube part number and the fluid being pumped — our engineers will return a probable-cause assessment and a replacement or upgrade recommendation within one working day.