
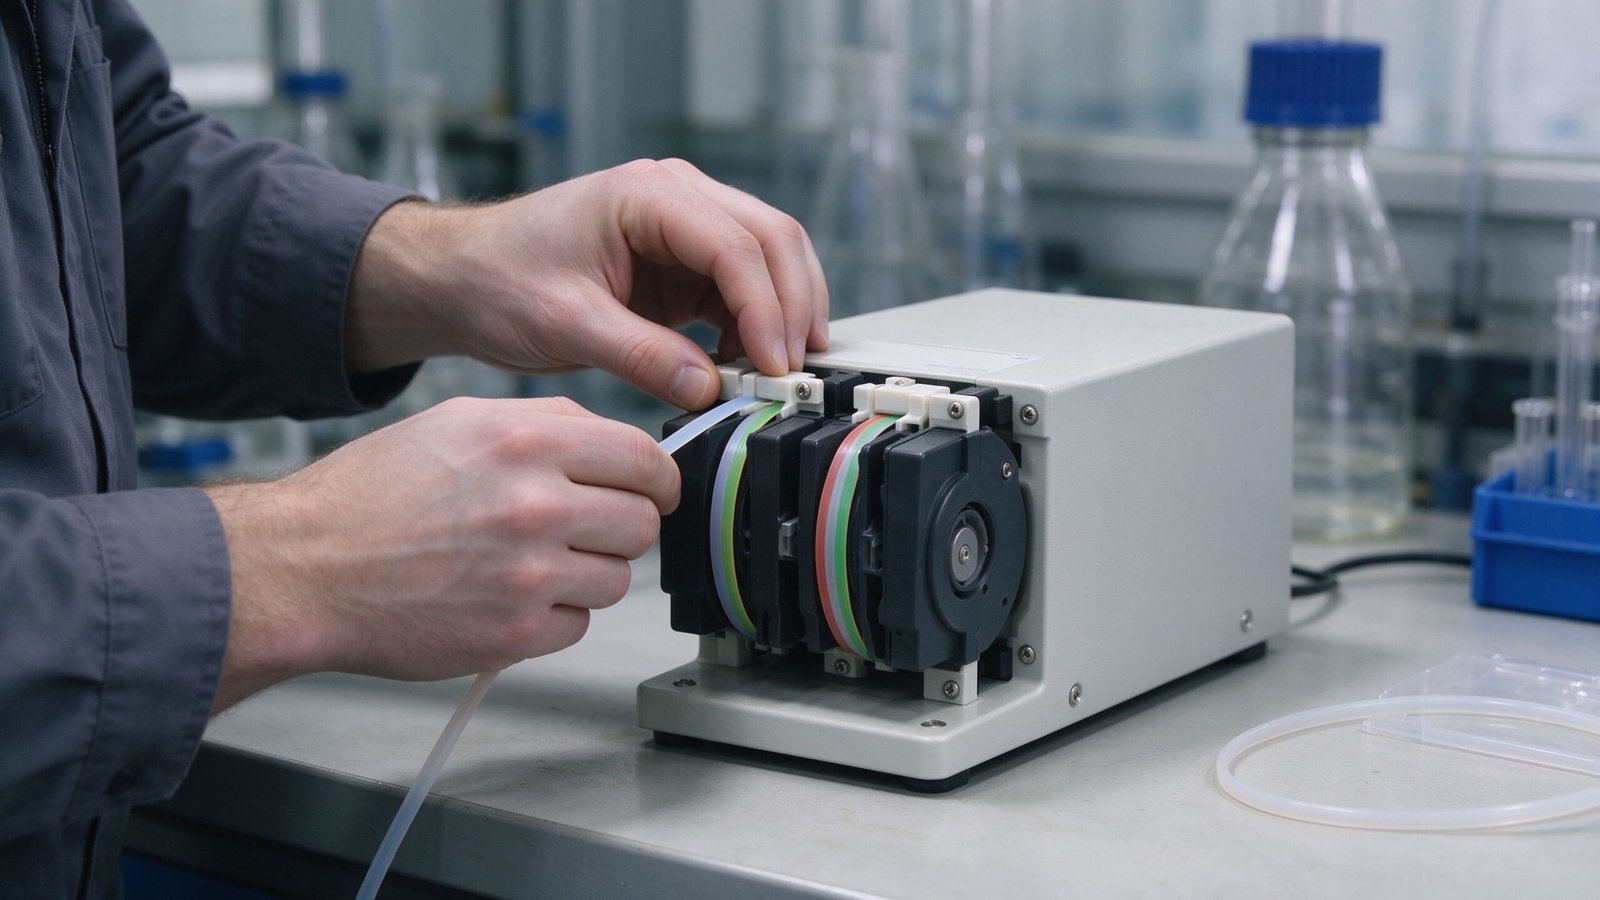
You just changed the tubing on your peristaltic pump, started it up, and now the dose is off. The pump runs, the motor turns, but the delivered volume is short, long, or uneven compared with how it ran before the swap. This is one of the most common complaints after routine maintenance, and it is almost never the pump. The new tube has a different compression behavior, and the occlusion and the calibration that worked on the old tube no longer apply. This troubleshooting guide walks through why the flow changes after a tube change, what to re-adjust, and how to confirm the pump is dosing correctly again.
Why the Flow Changes After a Tube Change
A peristaltic pump delivers a fixed volume per revolution, but that volume depends on how completely the tube is sealed between the rollers and the bed. A brand-new tube is stiffer and thicker than a tube that has been compressed for months, so the same occlusion setting on the old tube gives a different seal on the new one. If the new tube is slightly harder, the rollers may not flatten it fully, and fluid slips backward under pressure — the pump spins but delivers less. If the new tube is softer, it over-compresses and displaces more than expected.
The tube material and the wall tolerance also vary between batches, so even a same-part tube does not guarantee the same flow without re-checking. This is expected behavior, not a defect. The fix is not to replace the pump; it is to re-set the occlusion and re-calibrate the run time for the new tube. A peristaltic pump tube swap is a maintenance event that should end with a flow check, not a power-up and a walk-away.
| Symptom after tube change | Likely cause | First check |
|---|---|---|
| Delivered volume short | Occlusion too loose on stiffer new tube | Increase occlusion slightly |
| Delivered volume long | Softer new tube over-compressed | Loosen occlusion |
| Uneven or pulsing shots | Air in new tube, or tube not seated | Re-seat tube, bleed air |
| Flow drifts after warm-up | New tube bedding in | Re-check after break-in |
| Pump hums but no flow | Tube not installed through head | Re-thread tube correctly |
Step One: Confirm the Tube Is Installed Correctly
Before touching any adjustment, confirm the obvious. The new tube must run through the head in the correct path, with no twist, no kink, and no slack between the barbs. A tube that is pulled too tight between the barb and the head strains the rollers; a tube that loops loosely can be pinched by the cover. If the tube is the wrong bore or the wrong material for the head, the occlusion cannot seal regardless of adjustment, and the pump will never deliver the rated flow.
The suction and discharge barbs should be hand-tight, with no air leak. A loose barb admits air on the suction side, which shows up as uneven shots even when the head is set correctly. On a new tube, run the pump for a minute at low speed to bleed air out of the line before judging the flow. A micro peristaltic pump on a small bore is especially sensitive to air in the line, because even a small bubble changes the first shot.
Step Two: Re-Set the Occlusion
The occlusion is the compression the roller applies to the tube. On an adjustable head, this is set by a screw or a cam. The correct setting is the minimum compression that still seals the tube against the bed. Too loose and the pump slips; too tight and the tube is over-compressed, wears fast, and runs hot. After a tube change, start with the previous setting and then refine it by running the pump and weighing the delivered fluid.
The bench check is simple: run the pump for a fixed time into a tared container, weigh the delivery, compare it to the target, and adjust the occlusion in small increments. One small turn is usually enough; large adjustments over-compress the tube. This gravimetric check, the point-of-use measurement approach described by NIST’s Physical Measurement Laboratory, is how you confirm the seal rather than guessing by ear or by sight. A 24V dosing pump with a known run time makes this repeatable, because the speed and the on-time stay constant between adjustments.
| Occlusion adjustment | Effect on flow | Effect on tube life |
|---|---|---|
| Loosen (less compression) | Delivery drops, may slip | Longer, but under-doses |
| Just sealed (minimum) | Correct delivery | Best balance |
| Tighten (more compression) | Delivery rises, then plateaus | Shorter, runs hotter |
| Over-tighten | No further gain, heats up | Sharp wear, premature failure |
Step Three: Re-Calibrate the Run Time
Once the occlusion is sealed correctly, the delivered volume per revolution may differ from the old tube by a few percent. That difference is absorbed by changing the run time, not by re-tuning the speed. If the new tube delivers 8 percent more per minute, shorten the on-time by 8 percent. If it delivers 5 percent less, lengthen it. The goal is the measured shot, not a nominal number on a chart.
This is why dosing recipes are stored as run time, not as a fixed “this tube does X mL.” A controlled drive, as described in the motor-driver operating manual, lets you set the run time in small increments and repeat it shot after shot. Record the new run time against the tube lot and the date, so the next change starts from a known baseline. A 12V DC peristaltic pump on a fixed dosing cycle is a good example of where a saved run time, rather than a remembered setting, prevents the under- or over-dose.
Step Four: Watch the Break-In Period
A new tube beds in. For the first hour or few hours, the material compresses and the flow settles. A pump that is correctly set on a fresh tube may drift slightly as the tube softens, and then stabilize. Re-check the delivered volume after an hour of running, and again at the first maintenance interval. If the drift continues beyond the break-in, the tube may be the wrong material for the fluid, or the occlusion is not set right.
For a critical dose, a short break-in run before going into production is worth the time. The National Science Foundation’s engineering guidance on fluid handling supports the same practice: verify performance under actual duty before relying on it, rather than assuming a fresh component performs exactly as the old one did.
When It Is Not the Occlusion
If you have re-seated the tube, re-set the occlusion, re-calibrated the run time, and the pump still does not deliver, the problem is usually elsewhere. A worn roller or bed that no longer holds a clean line on the tube will not seal no matter how the screw is turned. A suction-side leak, a clogged filter, or a tube that is chemically swelling can also make the pump under-dose. On a small peristaltic pump, a worn roller is the next suspect after the adjustments are ruled out, and on a larger head, a scored bed means the head itself needs service.
| If after re-calibration… | Suspect | Action |
|---|---|---|
| Still slips under pressure | Worn roller or bed | Inspect head, replace roller |
| Tube swells or softens | Wrong tube chemistry | Change to compatible material |
| Air bubbles in delivery | Barb or line leak | Tighten, replace fitting |
| Flow drops over hours | Tube bedding or clog | Re-check, clean filter |
| Pump runs hot | Occlusion over-tight | Loosen, re-weigh |
Before you touch the adjustments, write down the old run time and the old occlusion setting. Once the head is open, the baseline is gone, and you want a reference to return to if the new tube does not behave as expected. That baseline note is the fastest way to get the pump back to a known state if the first adjustment overshoots.
If you are setting up a peristaltic pump after a tube change and want a repeatable procedure for occlusion and calibration, contact YOORAIN with the fluid, the required shot volume, and the head and driver you use. We can walk you through the bench check, recommend the right tube and head combination, and supply a quick-change head that keeps the re-calibration steps simple between maintenance events.